Make a Quality DIY Vlog for $126.96 *Smartphone not included
DIY video is one of my main competitors. There are a lot of bootstrapping entrepreneurs that are trying to get into the online space. They don’t have a big budget for hiring someone to make their videos. The common thought is, “Hey, I’ll just use my camera.” Then they realize there are a few tricks to making their videos look and sound great, even with the high quality cameras in today’s smartphones. I have talked to enough of our entrepreneur friends to say, you know what? Maybe this is a market opportunity. Maybe I can help bootstrapping entrepreneurs by telling them how to make their videos with quality. This is my advice for bootstrapping video trying to make their own DIY vlog (video blog). You can get started making your own quality DIY vlog for $126.96. *Smartphone not included.
DIY Vlog – Get an External Mic
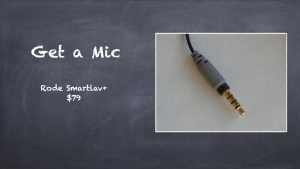 First get one of these handy-dandy little external mics, the Rode Smartlav+ mic for $79. Notice it has the TRRS connector that will connect to your smartphone and work as a nice mic. Look for that type of connector for your smartphone video external mic because you definitely want to get an external mic. If you don’t have good audio, you don’t have a good video. If you’re going to be recording video, get a mic that’s up close to you. The reason for that is that even the distance between you and the camera makes it sound a little bit distant, and you want to have that presence in your DIY vlog with an external mic.
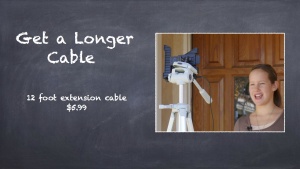 I also suggest that you spend the $6.89 to get the TRRS extension cable. The cable on this Rode Smartlav+ mic is only about four feet long, which is fine for that selfie distance, that is an ideal distance for the smartphone and framing, but this guy will give you enough room to be able to move around, plus if you happen to wiggle the cable, it will shake the camera and that downgrades your production value.
DIY Vlog – Use the Main Camera
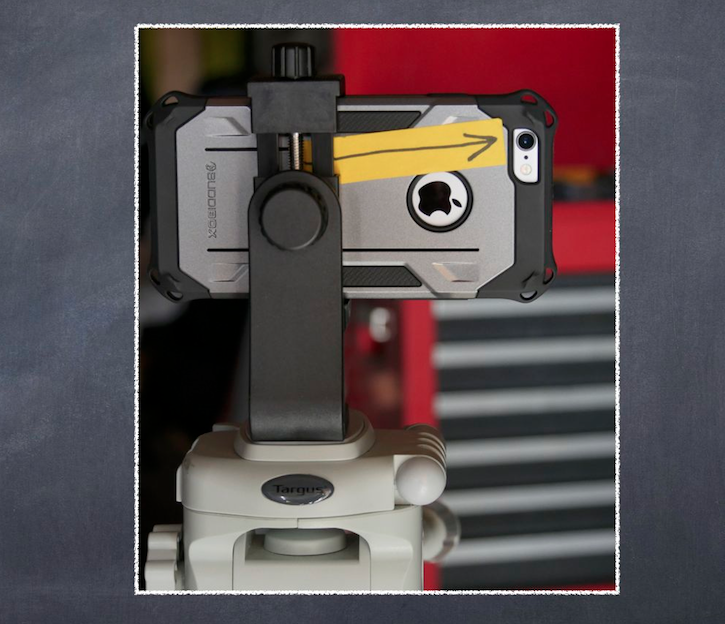
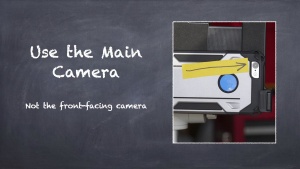 Use the main camera on the device to shoot your DIY vlog. Don’t use the front-facing camera where you’re looking at yourself. You need to look the camera in the eye, that’s the reason why I drew this arrow right here, to point to the camera lens actually. Don’t just stare at the phone in general and don’t use the front-facing camera and be distracted by seeing yourself.
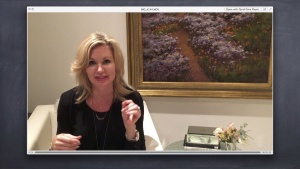
In this later video, CC looks directly into the camera and connects with the audience.
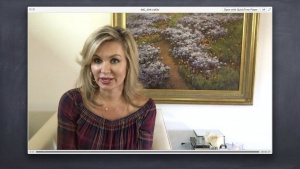
In this clip using the front-facing camera, CC’s eyes are automatically drawn away from the camera lens by the image of herself talking.
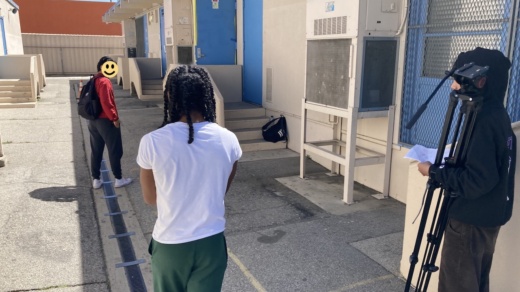
Look at the pair of pictures here as an example. Dr CC Evans Puglise is talented psychoanalyst who has a vlog helping people kick the phone habit and be more mindful about their lives (CC is also a video coaching client and these pictures are used by permission). I want you to take a look at her eyes between one of her later videos and one of her earlier ones. She’s connected, she looks ready to talk to you.
The second picture was an early iteration of her video, notice how she’s not really looking the camera in the eye. Like many beginners, CC was using the front-facing camera and was watching herself as she gave her talk. Just like in face to face conversation, with vlogs we need to give eye contact. We don’t look just to the side of the person’s head. Another reason to avoid using the front-facing camera is that the front-facing camera is typically a lower grade 720p HD camera, the main camera is generally going to be a 1080p full HD or higher resolution camera. Use the main camera for your DIY vlog.
DIY Vlog – Tripods and Mounts
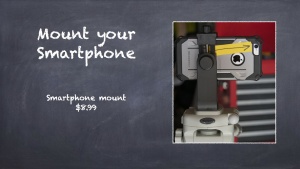 Next, mount your smartphone. Spend $8.87 for a simple smartphone mount. Be sure it has the 1/4 – 20 threaded connection, so you can attach it to a tripod. That will allow you to set it up and not have to mess around holding it. A lightweight budget tripod for holding up a smartphone can cost you as little as $25.95. I’m not recommending putting these sticks under an $1,800 DSLR rig. This thing is great for the lightweight smartphone, especially if you’ve got a nice rubber case around it like mine.
Another caveat, this kind of cheap tripod also won’t do if you’re planning to do a lot of moving shots. The mechanics in here are just going to be squeaky, rattly and shaky.
For moving shots you want to get a tripod with a fluid drag head, but I’m talking about a different type of video there. A DIY vlog is generally going to be: set up the camera, talk to the camera. Just getting started with bootstrapping video, right? A cheap $25 tripod should do you fine.
DIY Vlog – Bluetooth Camera Remote
Spend $2.99 on a little Bluetooth smartphone remote. You connect it with your camera, when you press the little button, it will actuate and start recording the video. This is desirable because you don’t have to run around and tap the camera and then run back in place, you can just remote activate it and then turn it back off without having to shake the camera by touching it.
DIY Vlog – Lighting
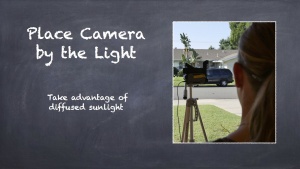 Now, the thing that we’re not going to spend money on is light. I suggest you use the universal free lighting system. It’s called the Sun.
It’s quite the powerful creation. The fact is, video is light, and if you don’t have nice lighting on your subject, you’re not going to have great-looking video. Here’s how we make this happen. We put the camera by the light, basically in front of the window, in this example picture out on the front porch. You stand facing that sunlight, but not direct sunlight. 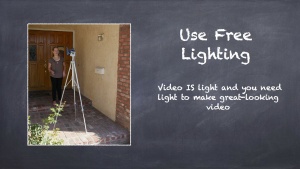 It has to be diffused sunlight. I’m actually standing in the shade, the only sunlight that’s on me here has been diffused by bouncing off of other things.
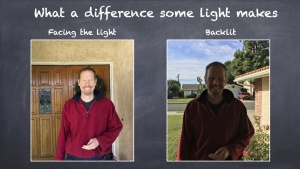 If you take a look at the contrasting examples, in one I am facing the light, and in the other I have my back to the yard with the camera facing the sun. There’s a significant difference. Even if you’ve got a beautiful backyard, don’t put your camera inside your house and out that picture window, because you’re going to end up looking like this. Turn it around the other way and make sure you’ve got diffused light.
DIY Vlog – Conclusion
I hope that I’ve inspired you, that you too can get out there and bootstrap your DIY vlog for only $126.96. Remember, if you’d like more DIY video tips, you can find more content here on RosaMediaProductions.com. Smartphone not included. 🙂
Related Content:
Keep a Camera Steady for Walking Selfie Video with DIY Camera Rig
External Mic Comparison with iPad Mini 3
How to get a Better Still on my Youtube Vlog
Video Production Coaching Package for Beginners
AFFILIATE LINK DISCLOSURE
Links to products for sale in my content are usually affiliate links meaning you get the same price as always, and I receive a small commission for the referral of a sale.
